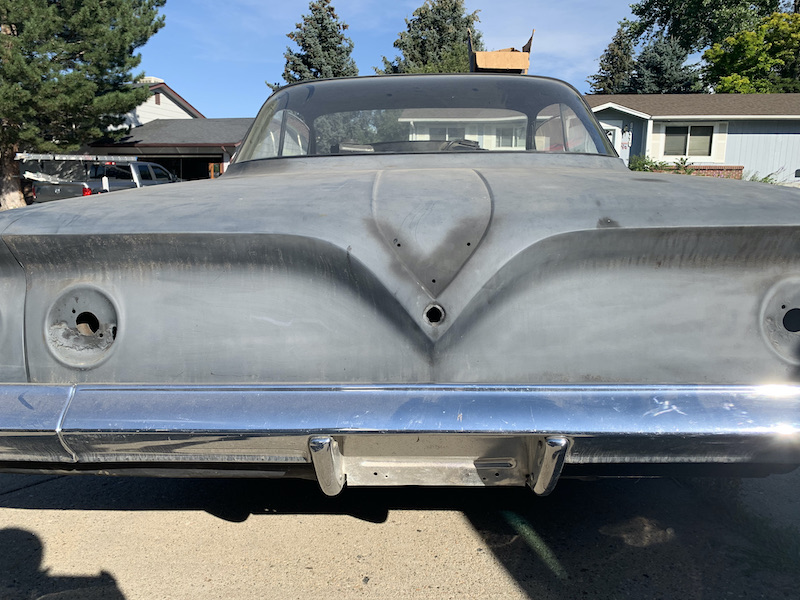
This car was purchased by my father 12-27-2009, along with a donor car. The donor car was also a 1961, but a Biscayne. From there the cars were placed along side each other in a backyard. Due to the ill repair of the two, cutting, welding, and fabricating was required to combine them into one. After sitting outside for years, the veichle became rusty complicating a full restoration. Little holes will show through a paint job and quickly become very cancerous. Many patches were welded in place of such areas to make the car as good, if not better than new.
The restoration process starts by removing all material from the metal. The shiny metal is then vulnerable to rusting but also can't hide any flaws. From there heat shrinking and expanding is required in order to use as little filler as possible. In this cars case the filler is all metal(polyester resen with alumin dust which uses fiber glass hardner). Then comes the glaze that appears green in the photos. The car is then ready for primer, which is then block sanded and primed again.
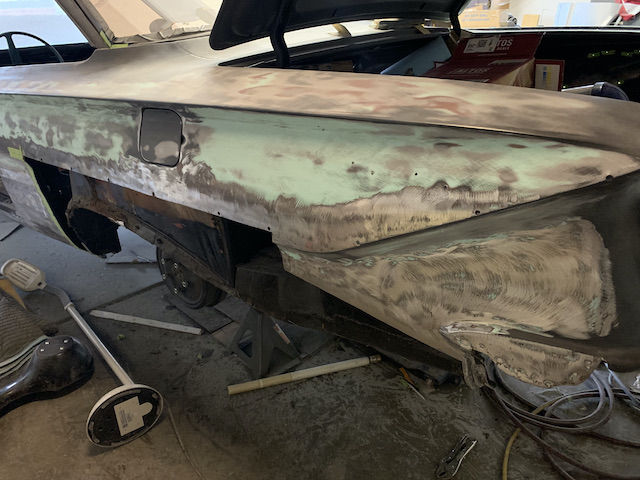
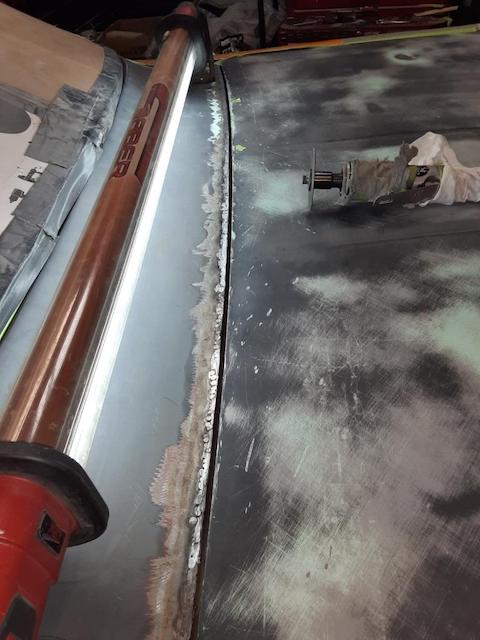
One particularly bad area of rust on old cars is the quarter panels. Both sides on this car needed some serious attention. The driver side recieved some rather large patches. The passenger side recieved some attention to the current patches. A shaping tool was used to dictate the radius of the patch. In turn creating perfect symetry.
Rust cut out
Rolling patch over dowel to match curve
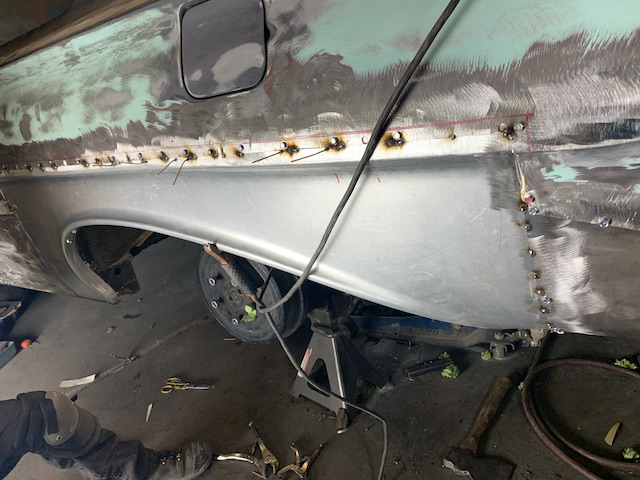
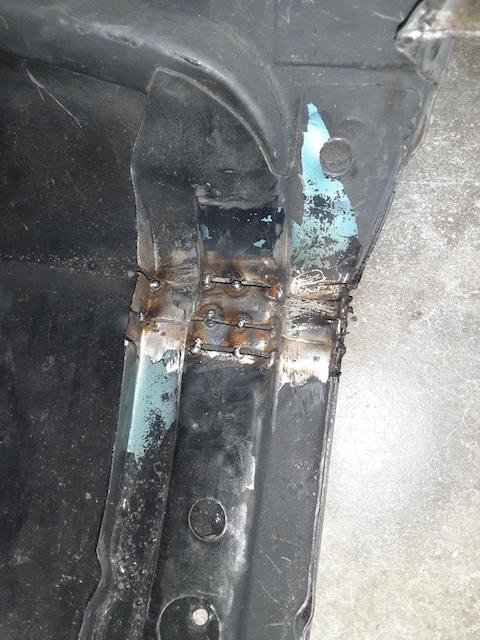
Sheet metal screws, tack welds and puller pins
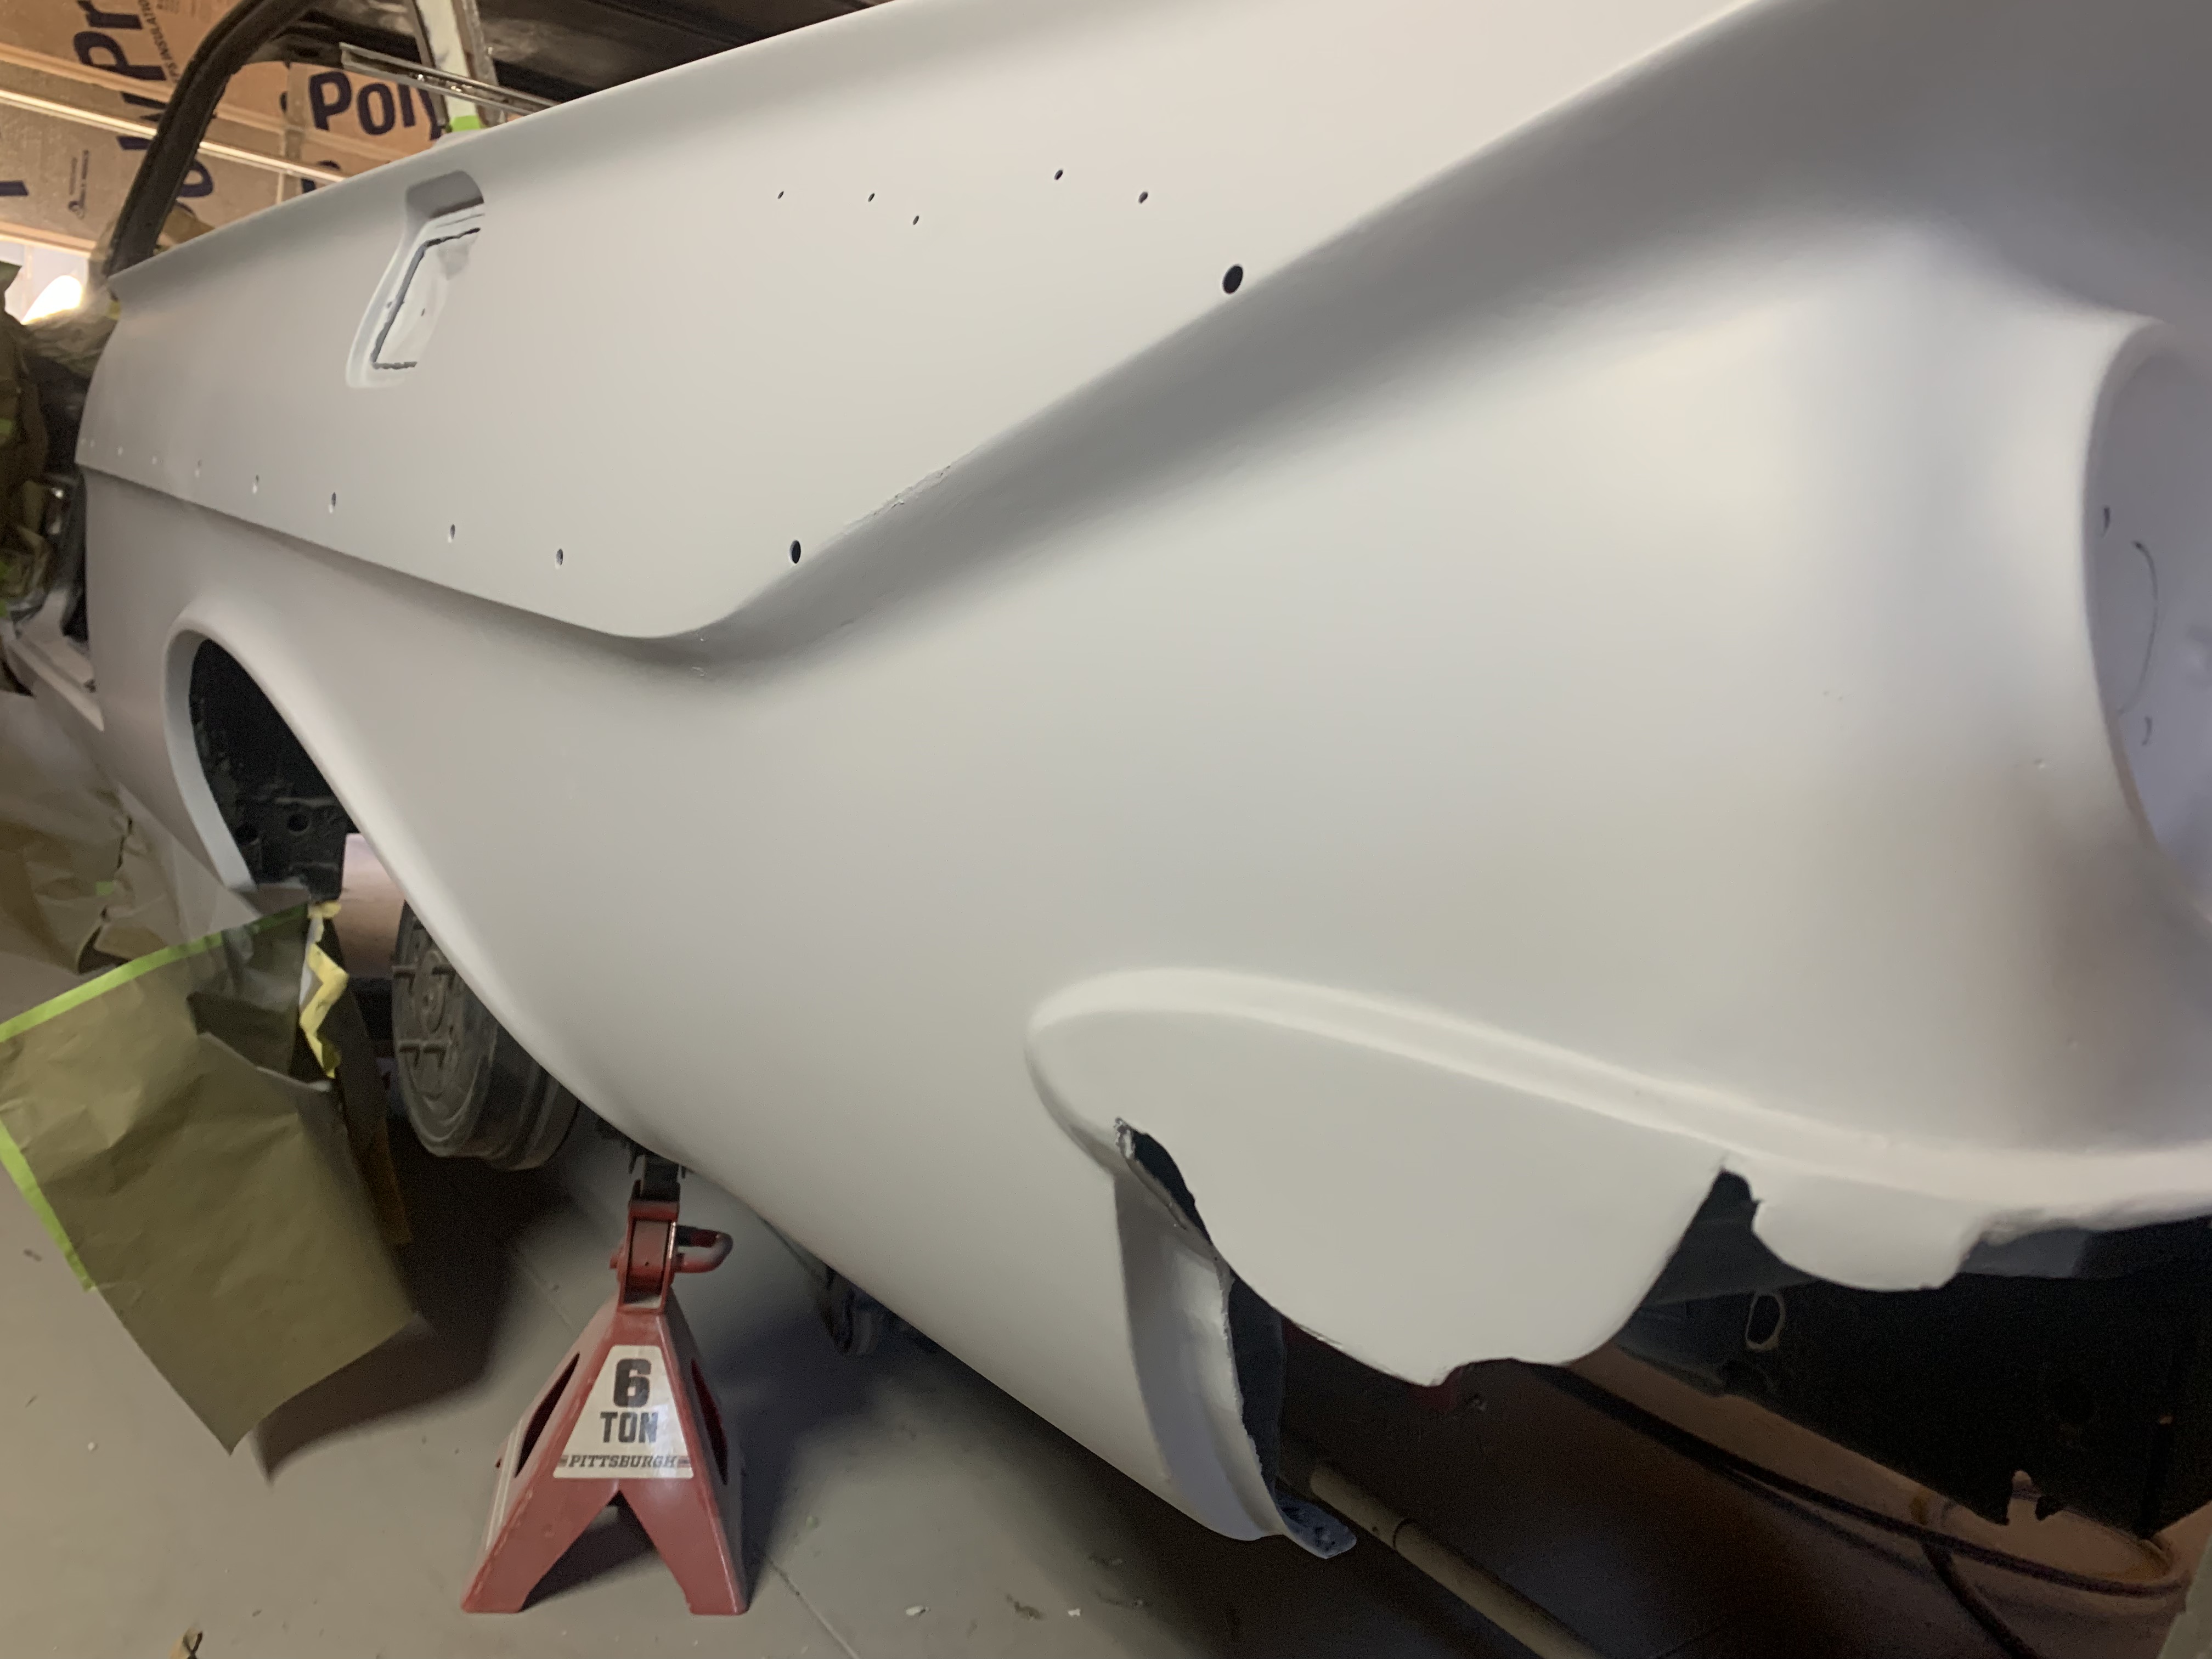
First coat of primer
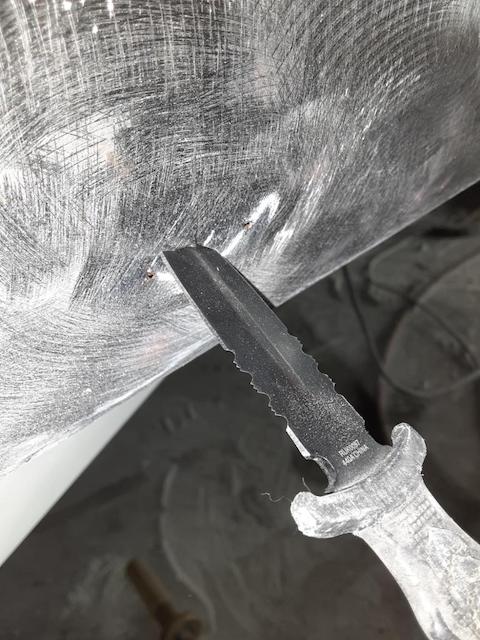
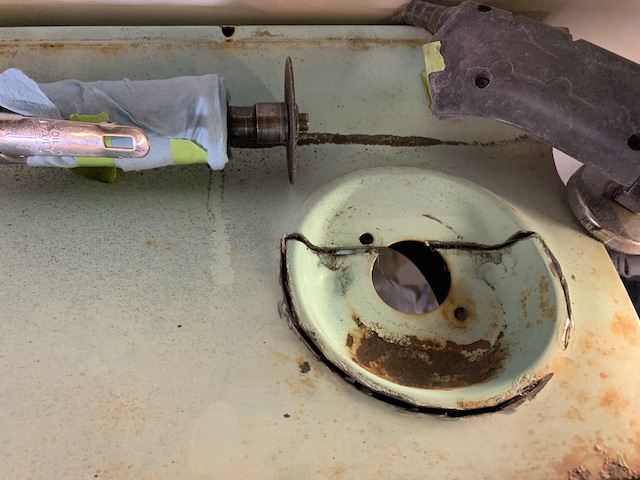
The brittleness of a rust pit illustrated
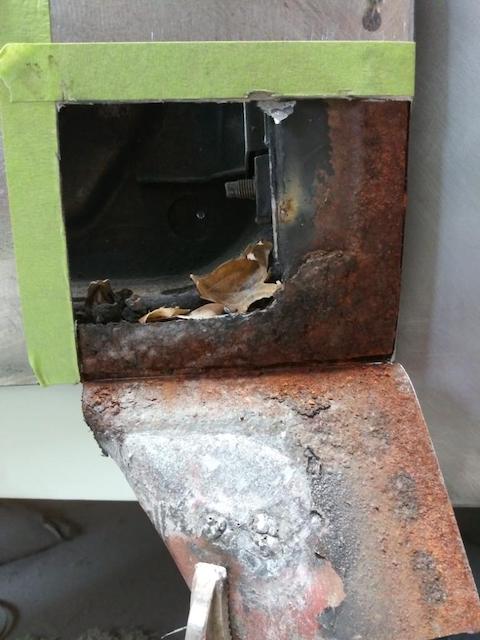
What lurks under a rusty spot
All cleaned up
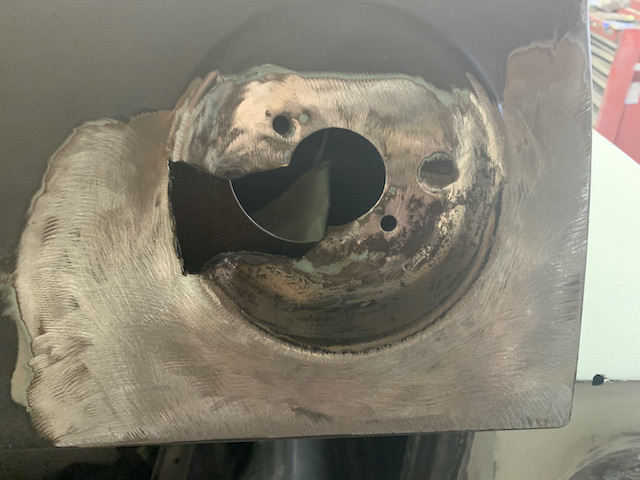
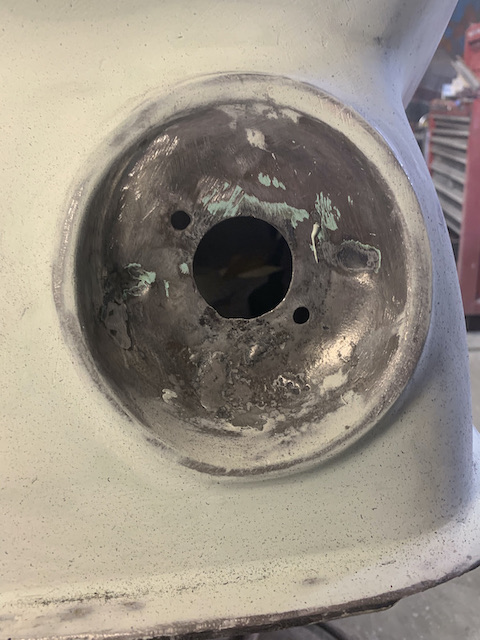
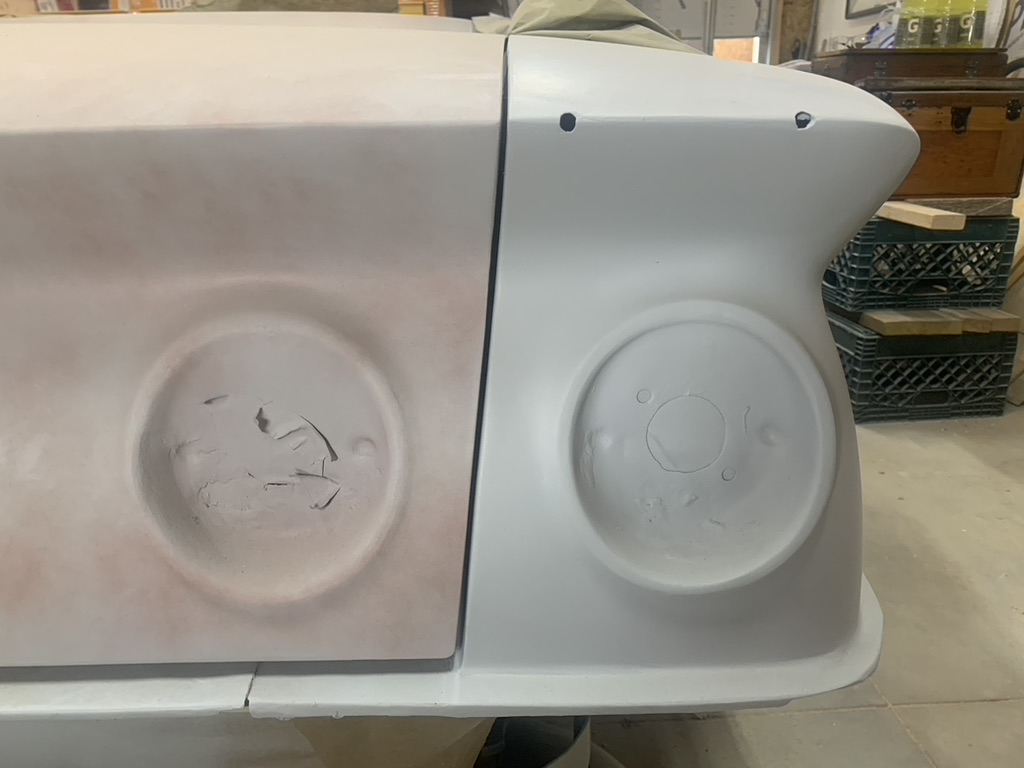
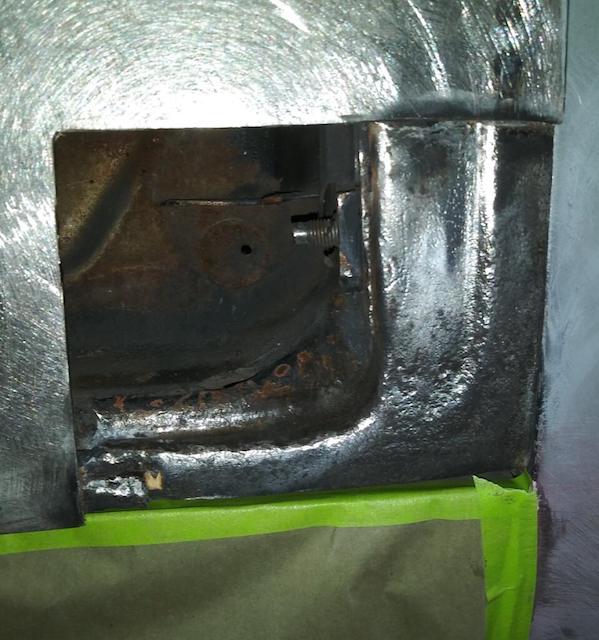
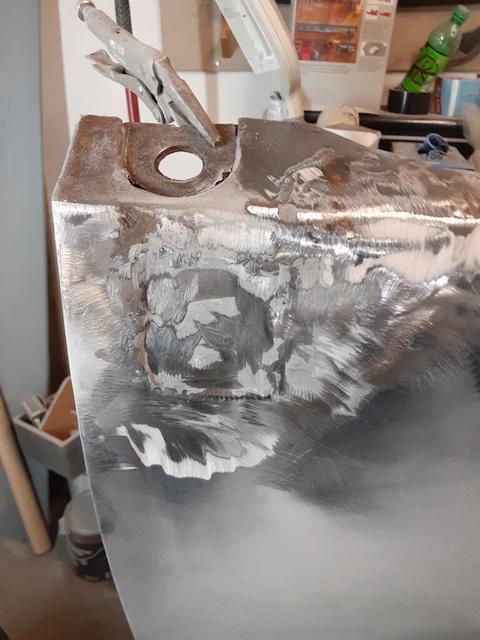
The driver side front fender had serious rust where the fender attached to the car. Again near the wheel well. The passenger side fender is from the Biscayne and had to have an antenna hole plugged but was in better shape.
Rusty fender removed from car
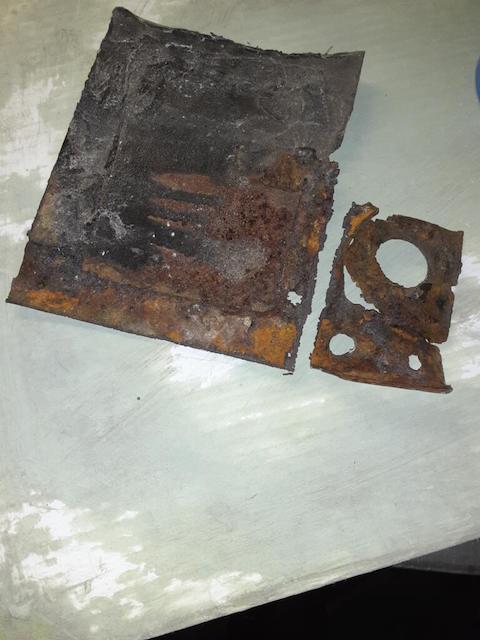
Cancer after being cut out

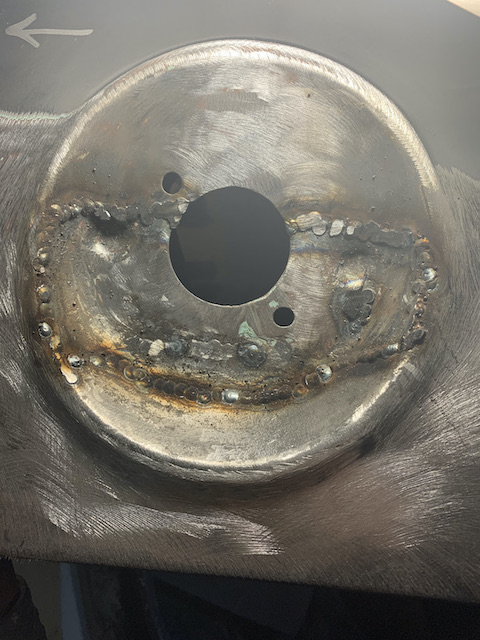
Crafting patch
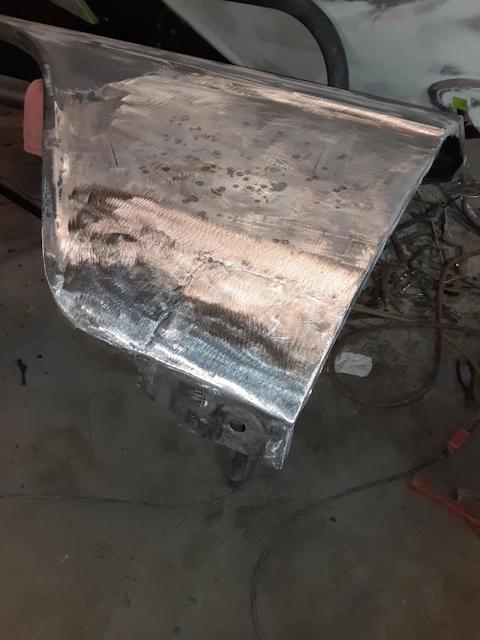
Finished fender patch
The attention to detail on this car is astounding. With the countless hours put into the body work, no rust spots will be overlooked. Each and every curve matches the other side making the car a symetrical. All the panal gaps have been meticulously set for uniformity.
Cowl/hood weld edge

Deck lid relief cuts
Upper inner fender relief cuts
To see more behind the scenes of the restoration proccess click the button below.